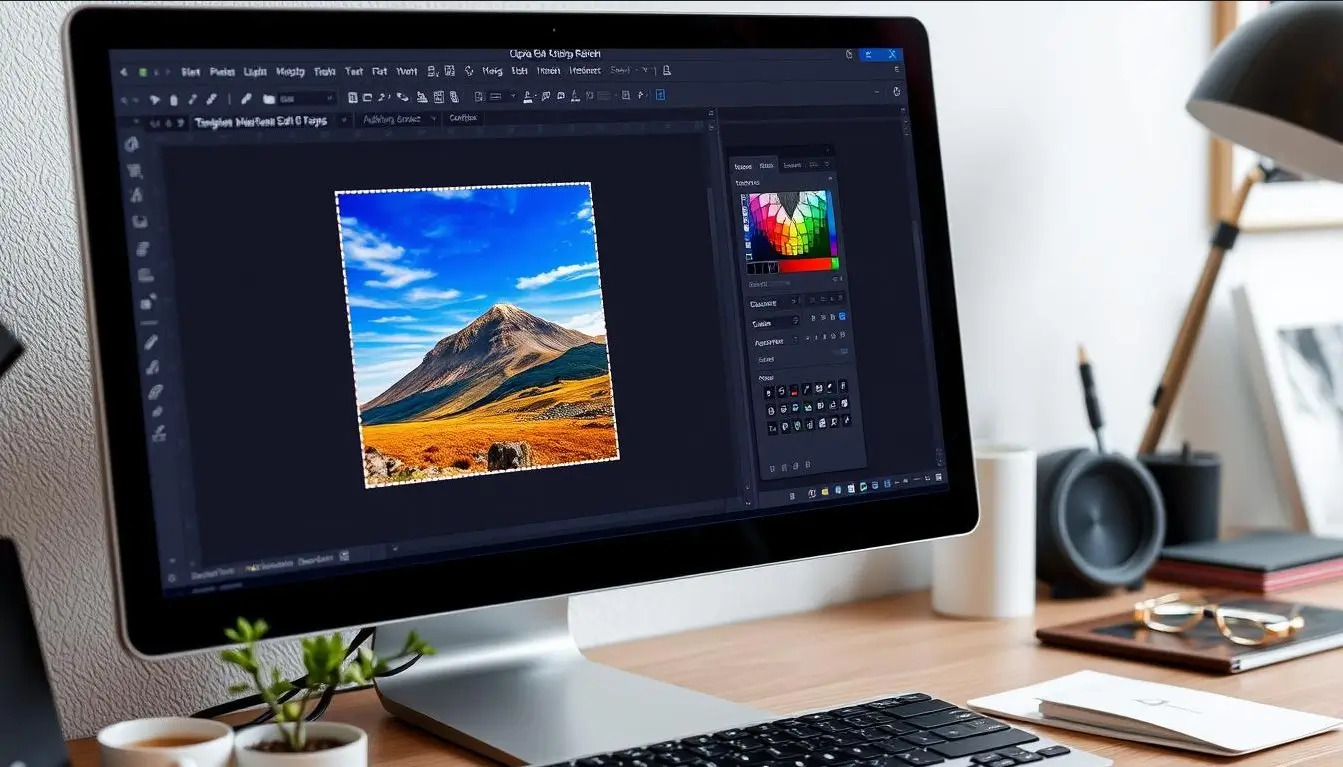
Have you ever wondered how top designers do those perfect cutouts? If you’ve tried graphic design, you might know that it’s all about clipping paths. This key technique is how you remove objects from their background. With precision and style it makes your designs pop. We cover it all in this Clipping Path InDesign Guide. We will show you from the basics to advanced techniques of Clipping Path for your projects.
We will tell you what are the perks of clipping paths. Now we’ll solve common problems, for example, when InDesign clipping path is greyed out. We will also share Clipping Path solutions. And whether you want to use the Pen Tool to improve your creativity or solve design problems, our guide is here to assist you.
Key Takeaways
- Get to know the basics and advantages of clipping paths in InDesign.
- Find out how to make clipping paths using Photoshop integration and direct tools.
- Find out what is the greyed out clipping path option and what to do about it.
- Learn advanced path customization and path use for text wrap.
- Use professional answers to find the answers to clipping path challenges.
Clipping Path in InDesign – Introduction
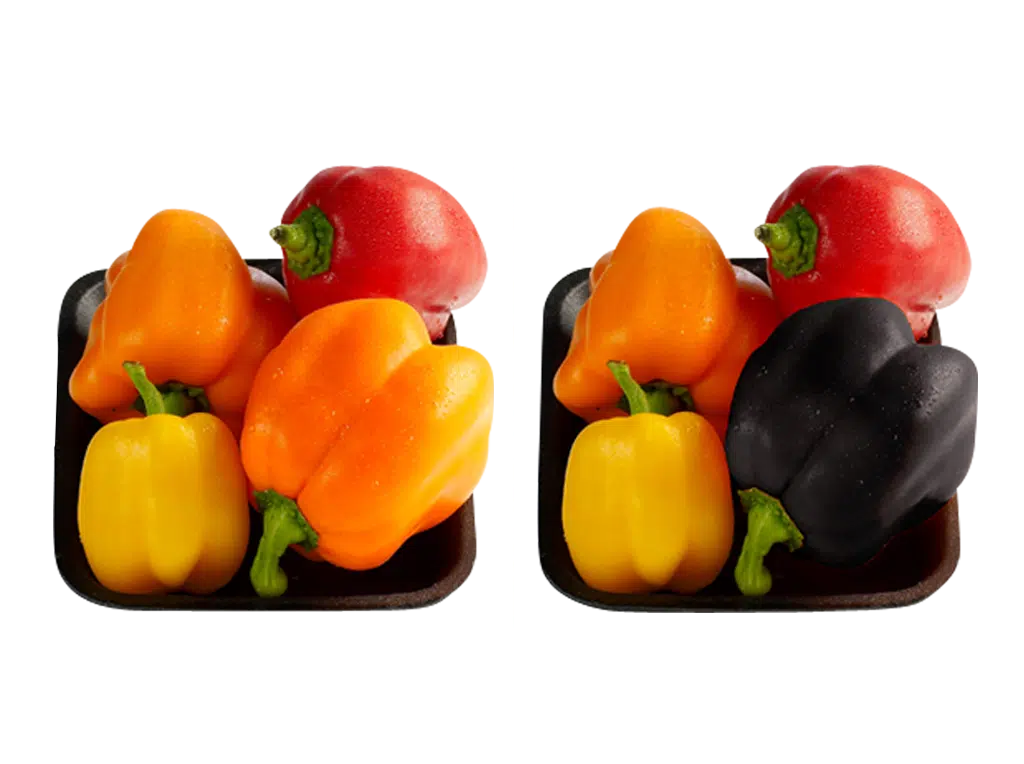
That’s why you need to learn about clipping paths in Adobe InDesign. These methods define what you want to see and what you want to hide in an image. A Clipping Path definition is about defining a clear path around some parts of an image. It allows designers to break out of the usual square shapes. What is a Clipping Path? Clipping path is a mask, it shows only part of an image. Making detailed designs is important to it. Using clipping paths is a useful thing to know, and will make your designs look better and stand out more. Benefits of Using Clipping Paths in Design Using clipping paths has many Clipping Path advantages that make your designs better:
- With it, you can turn simple images into interesting complex shapes.
- Better wrapping text around images helps make layouts cleaner.
- The result is beautiful images that blend smoothly with backgrounds to give a cohesive effect.
- It works great with other design tools (Illustrator, XPress, etc.) but especially with EPS files.
When you use Adobe InDesign clipping, you’ll see how it changes how you present images and layouts. Designers often choose EPS files for logos because they work well with InDesign. This makes designs look better and saves time.
| File Format | Preference (%) | Reason |
|---|---|---|
| EPS | 63% | Better compatibility with design software |
| 42% | More suitable for final output | |
| Illustrator | 78% | Preferred for logo adjustments |
| PitStop in Acrobat | 85% | Considered slower than Illustrator |
Adding clipping paths to your designs makes them look better and easier to manage. Learning about these benefits in InDesign will boost your creativity and make your work flow smoother.
How to Create Clipping Paths in InDesign
With two main ways, it is easy to create clipping paths in InDesign. These methods make it easy to pick out parts of images. It’s creative and precise at the same time.
Photoshop Integration
The advanced clipping path features in Photoshop allow designers to use them. Make your path with the Path tool first. Save the image as TIFF or EPS then. If you bring it into InDesign, use the Import Options dialog to apply the path as you want.
This method makes it easier to edit and your work faster.
Direct Methods: Using InDesign Tools to Clip Paths
You use InDesign tools to create clipping paths. The Pen Tool is for drawing around an image in your Shapes tool. It means that you can create any path you want.
You can also make clipping masks from text by drawing a path around the text. The method is very easy to use and doesn’t need a lot of knowledge.
Adobe InDesign also has its automatic clipping path. It can find edges in images. After loading your image, you will get this feature in the clipping path dialog box.
Transparent areas in InDesign, have a checkered background. By learning these tools and techniques you can make the best use of InDesign. You can create clean cutouts and overlays with unique designs.
Common Issues with Clipping Path InDesign, InDesign Clipping Path Greyed Out, Clipping Path Illustrator
Working with Clipping Paths in InDesign can be tricky. You might face problems that slow you down. Knowing about InDesign Clipping Path issues helps keep your work smooth and effective. A common issue is when the clipping path option is greyed out, causing frustration.
This usually happens with certain types of images or objects. It’s important to understand why this happens to solve it.
Understanding the Greyed Out Clipping Path Option
A greyed-out clipping path option often means the image isn’t right. It usually needs to be a raster type for clipping paths to work. Vector objects won’t allow clipping path adjustments.
If you’re dealing with Clipping Path greyed out troubleshooting, check if your image is raster. Also, make sure it’s correctly placed in your InDesign layout.
Possible Solutions to Common Clipping Path Issues
There are ways to fix common Clipping Path Illustrator problems. Here are a few tips:
- Check Image Type: Make sure the image is rasterized. Right-click in the Links panel to check its metadata.
- Use the Right Selection Tool: For better scaling insights, use the Direct Selection tool. The Control panel shows images as 100% regardless of scaling.
- Assess Image Settings: Images flipped will show a reverse “P” symbol in the Control panel. Be aware of any transformations that might affect clipping paths.
- Review Effective PPI: Check if your graphic is a vector or raster image using the Info panel. A raster image will show an Effective PPI, important for quality work.
Advanced Techniques for Clipping Paths in InDesign
If you’re designing with InDesign, learning advanced clipping path techniques can really help you with your design work. With the Pen Tool InDesign you may use it to make special paths for your designs. They’re tools that help you make precise cutouts and make your workflow more creative.
Creating Customized Paths Using the Pen Tool
InDesign’s Pen Tool allows you to create detailed custom paths for all shapes and objects. That’s great for isolating complex designs or shapes that require exactness. Advanced clipping paths allow you to cut out the most detailed cutouts matching your design perfectly. Here are some key steps:
- See how to draw custom paths with the Pen Tool.
- Create and manage your paths well using the Paths panel.
- Learn how to combine paths into a Compound Path for those complex designs.
Clipping Paths for Text Wrap and Image Overlays
If you can use clipping paths well, you can blend images and text overlays smoothly. Text Wrap InDesign allows you to control how text wraps around images and improve your layout. When using advanced clipping paths with text wrapping, remember to:
- When it comes to clipping paths, be sure the clipping path location makes a space that is the image area you want.
- Just choose file formats such as TIFF that can handle clipping paths.
- Use the Text Wrap option to create designs where text and images can work together.
| Technique | Description |
|---|---|
| Pen Tool InDesign | Allows for the creation of customizable paths to fit specific design elements. |
| Compound Paths | Combines multiple paths into one for more complex selections. |
| Text Wrap InDesign | Enhances layout by controlling text flow around images, improving visual clarity. |
Key for work with visuals and making sure your design has the right impact, these advanced techniques. The more you get better with the Pen Tool InDesign and trying out other methods, your designs will get better and more creative.
Conclusion
Once you learn how to use Clipping Paths in InDesign, you open up a whole new world of design. It helps you dictate what should and shouldn’t be visible in your projects, making them look better. It can all make a big difference if you learn the basics and use tools like the Pen Tool.
With InDesign Clipping Path Tips you can solve common issues. Knowing how to manage layers and knowing what greyed out options are is important. Knowing InDesign and Photoshop lets you make something new for each project, each project is different.
If you practice clipping paths in Creative Design InDesign, you’ll have them as a really important part of your toolkit. But as you get better, you’ll be able to make amazing visuals that will connect with your audience. It will allow you to go to new creative limits with every project.
Categories
Recent Posts

Color Correction Services
Color Correction Services

Background Remove Services
Background Remove Services

Clipping Path Services
Clipping Path Services


